The Datastrato Enterprise UI
The Datastrato Enterprise UI is where administrators and data owners connect sources, browse and classify metadata, grant access, and run jobs. It talks to the same Gravitino server as the REST API and the engines, so a change made in the UI is visible to every client at once, and the UI enforces the same privileges: a user sees and changes only what their roles allow.
Signing in
The sign-in page offers Continue with single sign-on for users of your identity provider, and Sign in with a password for local users. The name and sign-on method of the current user show at the bottom of the navigation bar.
Layout
The navigation bar on the left holds three things above the sections:
- The metalake selector at the top. Everything below it works within the selected metalake.
- Search, which also opens with Cmd+K or Ctrl+K.
- The sections, described below.
Each section opens on its own page, and most are split into tabs.
| Section | Tabs | What it is for |
|---|---|---|
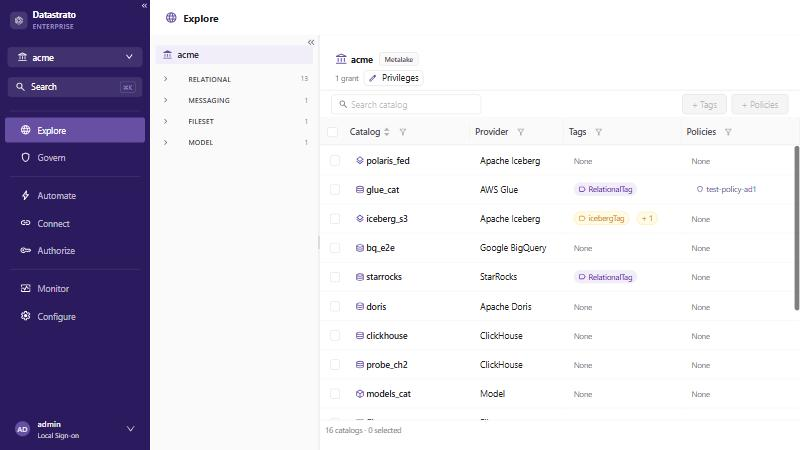
| Explore | none | Browse catalogs, schemas, and the objects in them as a tree, see each object's tags, policies, and grants, and attach tags and policies. Create schemas from a catalog's page. |
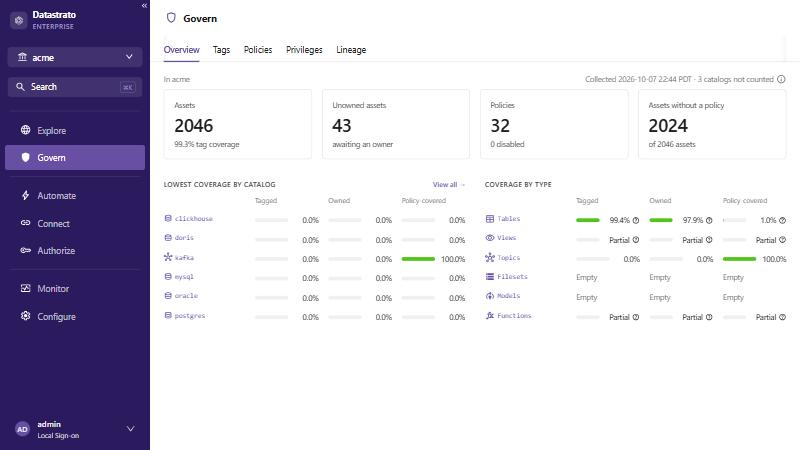
| Govern | Overview, Tags, Policies, Privileges, Lineage | Create and manage tags and policies, review who holds which privileges, and follow lineage. |
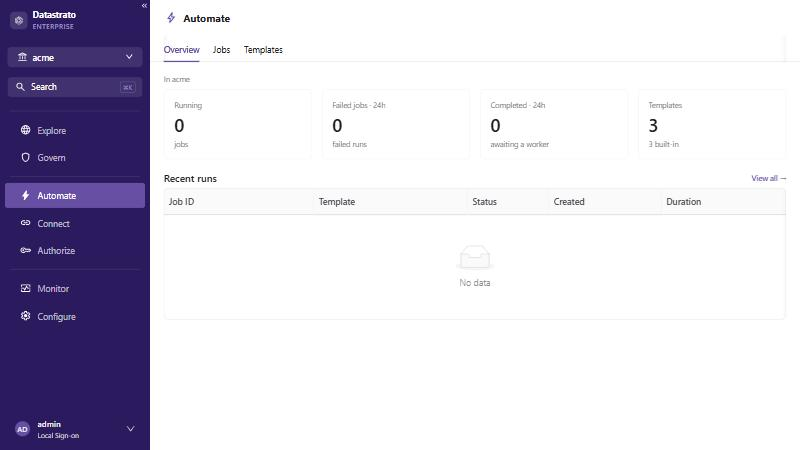
| Automate | Overview, Jobs, Templates | Register job templates and run jobs. |
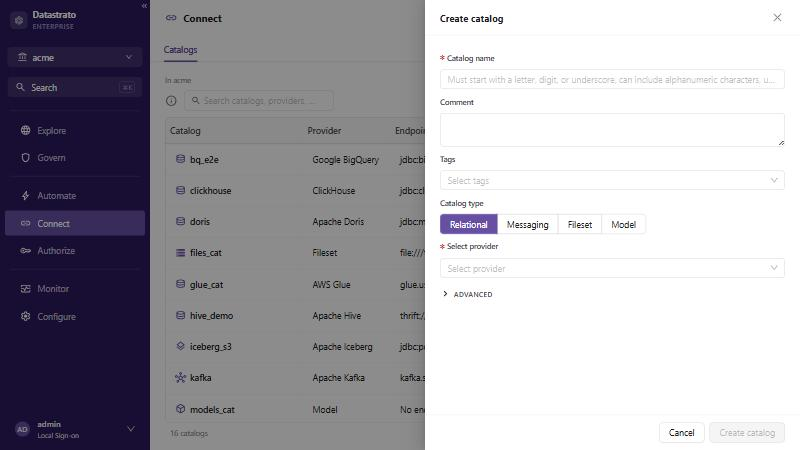
| Connect | Catalogs | Add catalogs, test their connections, and edit their connection settings. |
| Authorize | Overview, Roles, Users, Groups | Create roles, grant privileges to them, and assign them to users and groups. |
| Monitor | none | Request rates, p95 latency, heap use, and server errors for the Gravitino server and its Iceberg REST and Lance REST services. |
| Configure | Metalakes, Identity provider, Directory, Events, Settings, Client access | Server-wide settings: metalakes, the identity provider and SCIM tokens, the user directory, event listeners, the server properties set by the Helm chart, and the endpoints and connector installs for clients. |
Most lists select rows with a checkbox, and the buttons above the list act on the selected rows. Buttons that start with + add something, such as + Catalog on Connect or + Role on Authorize, and open a panel on the right. Nothing is saved until the panel's final button, such as Create catalog or Add role, is clicked.
Configure → Settings is read only. It shows the server properties set through the Helm chart,
which are changed in my-values.yaml; see Install with Helm.
The sections
Explore
Govern
Automate
Connect
Authorize
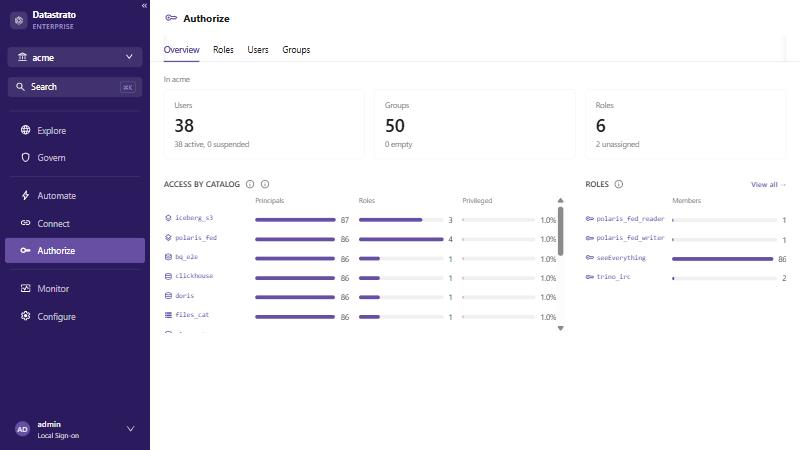
Monitor
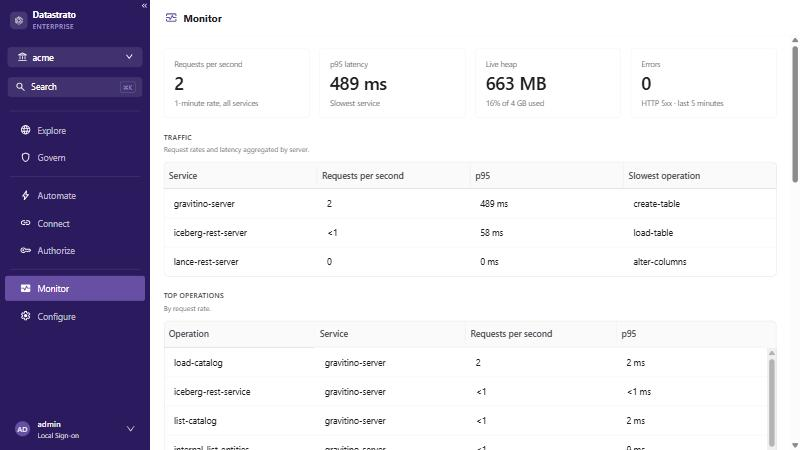
Configure
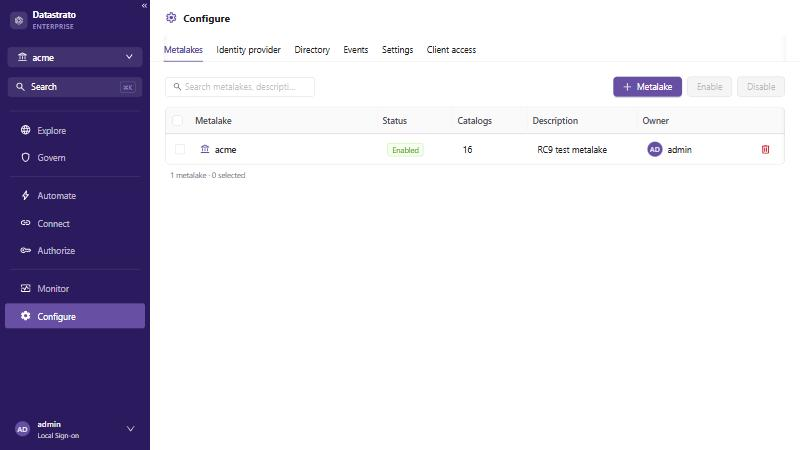
Common tasks
| Task | Where | See |
|---|---|---|
| Connect a catalog | Connect → Catalogs → + Catalog | Catalogs and schemas |
| Create a schema | Explore → the catalog → + Schema | Catalogs and schemas |
| Create a tag | Govern → Tags → + Tag | Tags |
| Tag objects | Explore → select the rows → + Tags | Tags |
| Create a role and grant privileges | Authorize → Roles → + Role, then the role's Privileges tab | Roles |
| Give a user or group access | The role's Members tab → + Members | Roles |
| Create a policy | Govern → Policies → + Policy | Policies |
| Create a metalake | Configure → Metalakes → + Metalake | Metalakes |
| Run a job | Automate → Jobs → Run job | Jobs |
| Add a job template | Automate → Templates → + Template | Templates |